Maintenance & Care
Our windows and doors are designed to enhance your home with natural light, fresh air, energy efficiency and comfort. We’ve provided some simple proper window care & cleaning that will further enhance their beauty and performance.
Vinyl Care & Cleaning Guidelines
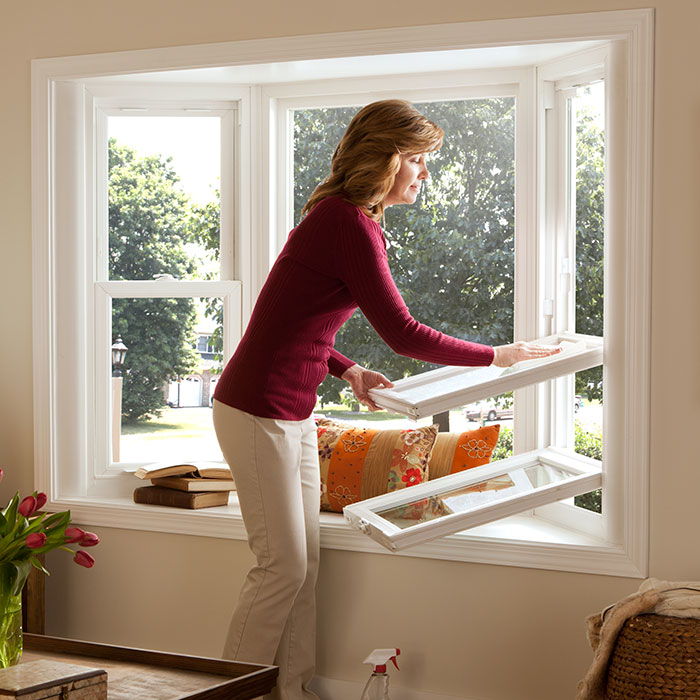
Your vinyl windows and doors will get dirty from time to time but cleaning them is rather easy by following these simple proper care and cleaning instructions.
- Wash using a mild detergent (if necessary) and a soft cloth or ordinary soft bristle brush. Do not clean the windows or doors with a high-pressure washer. The extreme spray pressure could crack or destroy the caulking around the window or door.
- For difficult to remove dirt and stains use the readily available household cleaners listed on the chart. Follow the manufacturer’s instructions on the use of the cleaners.
- In some cases, you may wish to use a mildly abrasive cleanser such as Soft
Scrub® or a Mr. Clean® Magic Eraser® but the use of any abrasive material
could scratch the surface of the glass and window or door frame. - DO NOT USE liquid grease remover, adhesive removers such as Goo Gone®, strong soaps or detergents containing organic solvents, nail polish remover, furniture polish or cleaners containing chlorine bleach. These items could affect the surface appearance of the vinyl.
Cleaners to Help Remove Stains From Vinyl Windows and Doors
- Bubble Gum – Fantastik® All-Purpose Cleaner, Murphy Oil Soap®, solution of 30% vinegar and 70% water, Windex®
- Crayon – Lestoil®, Mr Clean® Magic Eraser®
- DAP (oil-based caulk) – Fantastik® All-Purpose Cleaner
- Dirt and Scuff Marks – Fantastik® All-Purpose Cleaner Lestoil®, Mr Clean® Magic Eraser®, Murphy Oil Soap®
- Felt-tip pen – Fantastik® All-Purpose Cleaner, water-based cleansers
- Grass – Fantastik® All-Purpose Cleaner, Lysol®, Murphy Oil Soap®, Windex®
- Lipstick – Fantastik® All-Purpose Cleaner, Lysol®, Murphy Oil Soap®
- Lithium Grease – Fantastik® All-Purpose Cleaner, Lestoil®, Murphy Oil Soap®, Windex®
- Mold and Mildew – Fantastik® All-Purpose Cleaner, Solution of 30% vinegar and 70% water, Windex®
- Motor Oil – Fantastik® All-Purpose Cleaner, Lysol®, Murphy Oil Soap®, Windex®
- Oil – Soft Scrub®
- Paint – Mr. Clean® Magic Eraser®
- Pencil – Mr. Clean® Magic Eraser®, Soft Scrub®
- Rust – Fantastik® All-Purpose Cleaner, Murphy Oil Soap®, Windex®
- Tar – Soft Scrub®

Aluminum Care & Cleaning Guidelines
For the exterior of your aluminum clad or aluminum windows, we recommend you wash the frame and glass using a soft cloth or ordinary long-handled soft bristle brush. Clean textured surfaces with the soft bristle brush to avoid moving dirt and stains into the grooves of the texture or other components.
For the exterior cladding, use an automotive cleaner wax to remove stubborn stains and chalk.
To finish cleaning the exterior, use water from a garden hose to dislodge any soil and perform the final rinse. Caution should be used, for many operable windows and doors are not designed to withstand direct, full-pressure, full-volume spray from a typical garden hose. Such windows may allow water to penetrate into unwanted locations when subjected to such a spray. When using a garden hose, always apply the water at a low volume, using moderate water pressure, and an indirect spray. Always start with windows on the upper floors and work down. Minimize the amount of water running over the lower portions of the building to avoid other stains or damage.
Painting
Do not paint weather-stripping on sides of the sash. Mask before painting or remove weather-strip and mask the weather-strip before painting. IMPORTANT: DO NOT PAINT ALUMINUM COMPONENTS. Painting aluminum may void your product warranty
Care & Cleaning Guide for Aluminum-Clad Wood Windows & Doors
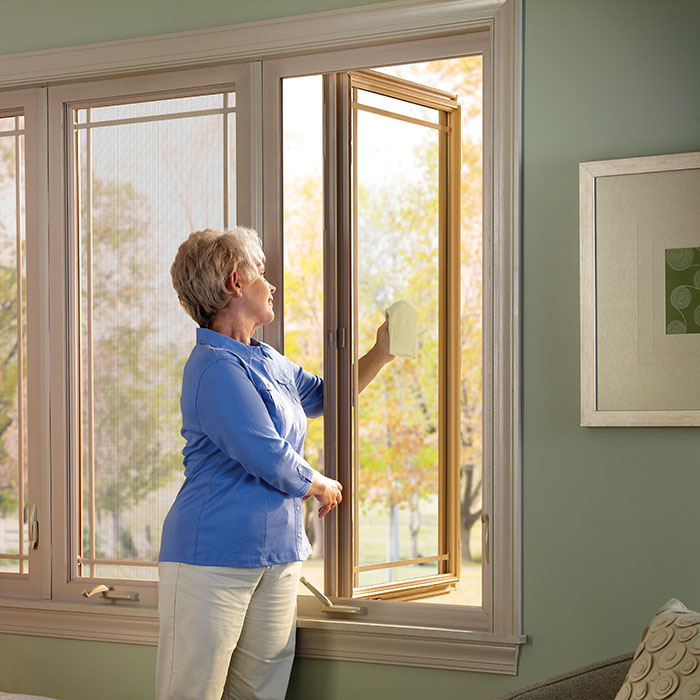
Keeping Window and Door Glass Sparkling Clean
- For routine glass cleaning, we recommend using a 30% white vinegar and 70% water premixed cleaning solution. Use a soft, lint-free cloth or paper towels to wipe clean, rubbing in different directions. If there is any residual streaking, rinse with clear water and wipe again.
- Ammonia-free glass cleaners such as Windex®also produce good results.
- Rinse windows and doors first if there to remove any excess dirt and debris.
- Thoroughly dry water and/or cleaning solution from glass and all window surfaces.
- DO NOT clean glass with a high-pressure washer. The extreme spray pressure could damage the glazing and destroy the seal of the insulating glass unit.
- DO NOT use razor blades, metal blades, abrasive cleaning solutions or materials to clean the glass due to the high probability that damage to the glass will occur.

Cleaning Guidelines for Woodgrain Laminates
- Use warm soapy water for routine cleaning of interior laminates and dry thoroughly.
- Mild household cleaners can also be used to clean interior laminates.
- Always test the cleaner on an inconspicuous area to ensure compatibility with the laminate surface.
- DO NOT USE abrasive scrubbing devices, organic solvents or abrasive cleaners as they will cause surface damage
IMPORTANT: DO NOT PAINT YOUR VINYL WINDOWS AND DOORS. The Limited Warranty becomes void if the vinyl or any interior surface or laminate is painted, stained, or if the surface is altered in any way.
Proper Cleaning for Exterior Coatings
- Wash the exterior using a mild detergent (if necessary) and a soft cloth or ordinary long-handled soft bristle brush. Do not clean the exterior coating with a high-pressure washer. The extreme spray pressure could damage the surface or crack or destroy the caulking around the window or door.
- Mild window cleaners that are safe to clean the exterior coating on windows and doors include Windex®, Formula 409®and Fantastik®.
- DO NOT USE liquid grease remover, strong soaps and detergents containing organic solvents, nail polish remover, furniture polish or cleaners containing chlorine bleach. These items could affect the surface appearance of the vinyl.
IMPORTANT: DO NOT PAINT YOUR VINYL WINDOWS AND DOORS. The Limited Warranty becomes void if the vinyl or any interior surface or laminate is painted, stained, or if the surface is altered in any way.

Exterior Color Touch-up Guide
Although Simonton’s exterior color coatings are extremely durable and scratch-resistant, it is possible for the product to become scraped, scratched, or nicked during transportation, installation or by flying debris. These coatings can be easily touched-up by following our simple instructions.
Before you start you will need:
- Touch up paint (Included)
- Applicator brush (Included)
- Foam brush
- Artist brush
Surface preparation
With any application of this type, conditions must be favorable so that the coating can adhere to the surface and dry properly. For best results, make sure temperatures are above 60 degrees during applications, with night-time temperature above 40 degrees. If possible, touch-ups should be avoided during high humidity or if rain is expected before the coating has had adequate time to dry.
Note: Coating curing time ranges from 24–48 hours, depending upon conditions.
Get started
- A light sanding may be required over the affected area. We recommend using a 360 or 400 grit dry sandpaper.
- After sanding prepare the area to be painted by wiping clean with any mild household cleaner to remove any surface dirt or debris. As a general rule, do not use cleaners that are solvent based or that may contain any oils or ammonia, but most mild household cleaners will work.
- Make sure that the surface is completely dry before beginning.
- Determine which brush is best suited for the affected area. When touching up larger areas, a foam paintbrush may be used. For deep scratches or gouges an artist brush works best. These brushes can be purchased at most any retailer where paint supplies are sold.
- Shake the touch-up bottle of paint well prior to applying.
- Use even strokes when applying paint.
- For best results, follow-up with a wet sanding using a 600 grit sandpaper. This will help properly smooth and feather edges.
- Allow the paint to cure for 24-48 hours before operating your window.
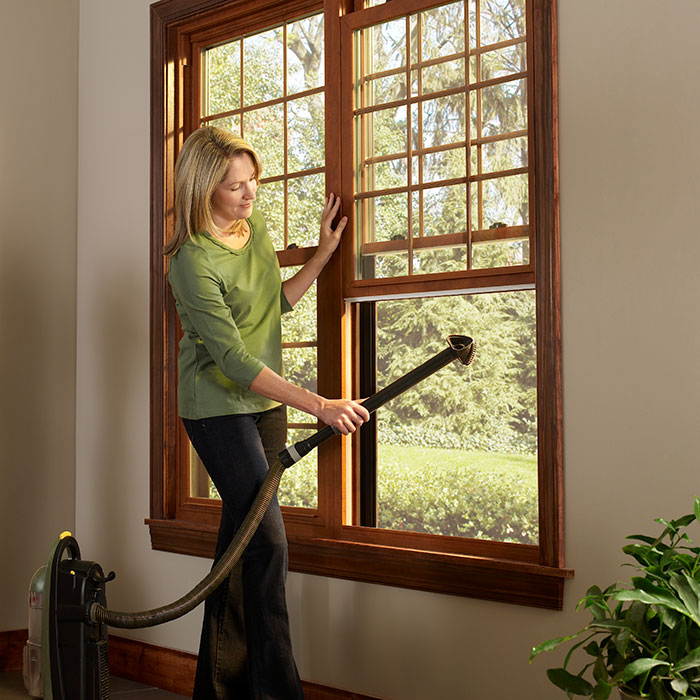
Proper Cleaning of Window and Patio Door Screens
- To routine clean screens carefully vacuum dust and dirt.
- For thorough cleaning, remove the screens from the window frame. Place the screens on a flat surface (such as the driveway) and use mild soap and water with a soft bristle brush to remove dirt and grime. Clean both sides of the screen and around the interior and exterior of the frame. Rinse off the unit with lukewarm water. Allow the screen to dry completely before returning it to its placement in the window or door.
- DO NOT use a high-pressure washer to clean screens; it could damage the units.
- Use extreme care when cleaning aluminum mesh, since it can be dented or creased if too much pressure is placed on the screen.
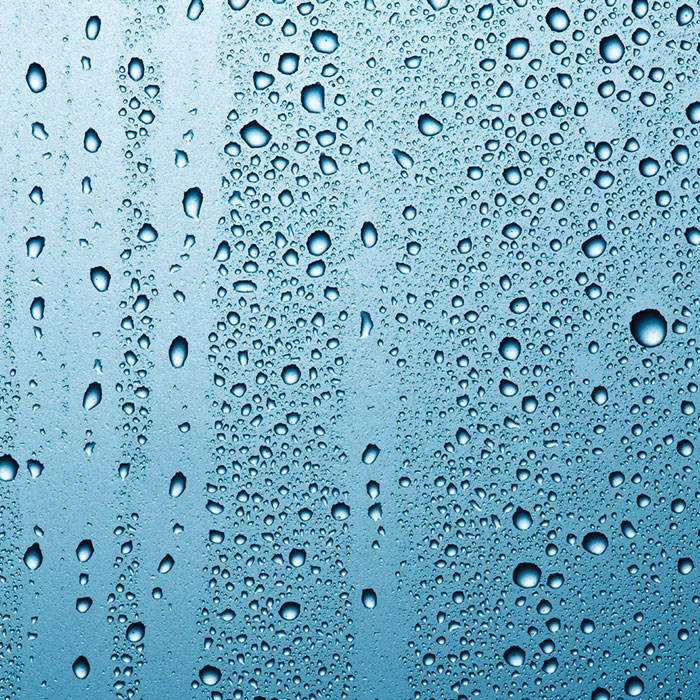
Why Your Windows Are Not Causing Condensation
Under certain conditions, condensation is a normal occurrence when warm or humid air meets a cool surface such as window glass. Condensation can occur both inside and outside your home, but your windows are not causing condensation.
- Water vapor in the air turns to liquid as it cools, causing what you see on your windows
- Old windows might let air from the outside into your home, so condensation does not occur
- New windows do not allow air to come in, causing condensation on the glass panes
- Condensation means your new windows are doing their job
Do Thermally Efficient Windows & Doors Prevent Condensation?
There is no such thing as a condensation-free window. Remember that windows do not cause condensation: they simply prevent the moisture from escaping to the outside and serve as a highly visible surface where condensation can be easily noticed.
What if there is ice on the inside of my window?
If the humidity is high enough inside your home for window condensation to form, that moisture can freeze if the temperature decreases. If you have ice or frost on your window, it is most likely in the same areas of your window where condensation has first formed. Anytime conditions allow condensation to form, there is the potential for that condensation to freeze if the outside temperature drops.
How can I reduce condensation?
Most everyday activities produce water vapor. A five-minute shower releases a ½ pint of water vapor, cooking dinner on a gas stove can produce 2½ pints of water vapor and the breathing and perspiration of a family of four can produce approximately ½ pint per hour.
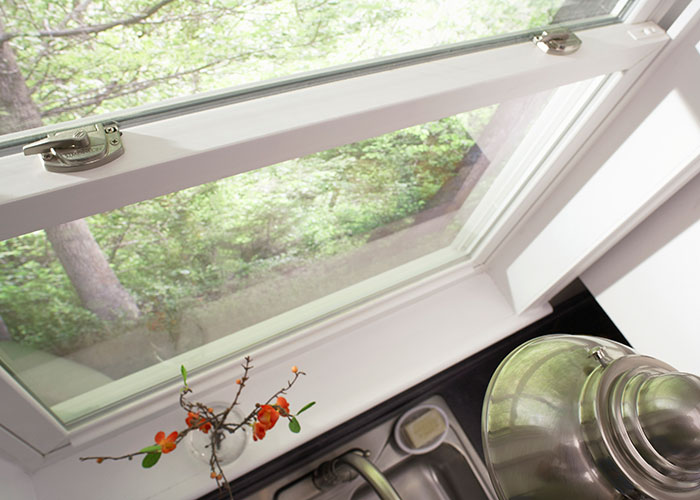
Try these tips to help reduce and control excess humidity:
- Ventilate the interior of your home by opening windows and doors periodically to allow interior moisture to escape
- Open curtains and blinds to allow more air circulation around windows.
- Use exhaust fans more frequently and for a longer period, particularly when showering and cooking.
- Use ceiling fans to circulate the air
- If you have a humidifier, set it to correct outside temperature.
- Install a dehumidifier
- Make sure attic, basement and crawl spaces are well ventilated and free from obstructions.
- Be sure that clothes dryer and all gas burners are vented to the outside
What is air infiltration and how can I reduce it?
Air infiltration is basically air leaking into or out of a home through small cracks in door frames, window frames, outlets, walls, floors, roofs and other areas. The American Architectural Manufacturers’ Association notes that every home “needs to breathe.” Natural ventilation (a controlled air exchange) will occur in all windows and in all homes. There are a few things to consider when it comes to window air infiltration.
- The style of your window can affect air infiltration. Fixed windows offer the most resistance to air infiltration while operable windows, such as double hung and sliders, can experience more air infiltration because they have a moveable sash with sliding seals. The design of a casement window provides the best resistance to air infiltration for an operable window.
- The location of the window in your home can cause more or less air infiltration. Windows that face greater winds can have increased air infiltration, compared to those that are more protected.
What can I do to reduce the air coming through my windows?
- Be sure that your windows are properly closed and locked.
- Look for caulk against the interior trim and around the molding that goes around the frame of the window.
- Typically, missing or damaged caulk (dried up, shrunken or molded) will allow air infiltration.
- Installation screws and jamb adjuster screw holes should be caulked and capped.
- The windows should be installed plumb, level and square; if not, air could enter your home around the frame.
- If you have siding on the exterior of your home, be sure it provides a good seal up to the window.
Note: Whistling windows, or a “humming” sound through the siding, can indicate an installation problem. If you are concerned about your installation, it’s a good idea to have a professional examine your windows.